
Tags
…it’s probably time to make some key lime pies.
(“Life” in this case takes the form of our friends Will and Renee, who have an overabundant key lime tree–thanks, guys!)
Here are the steps.
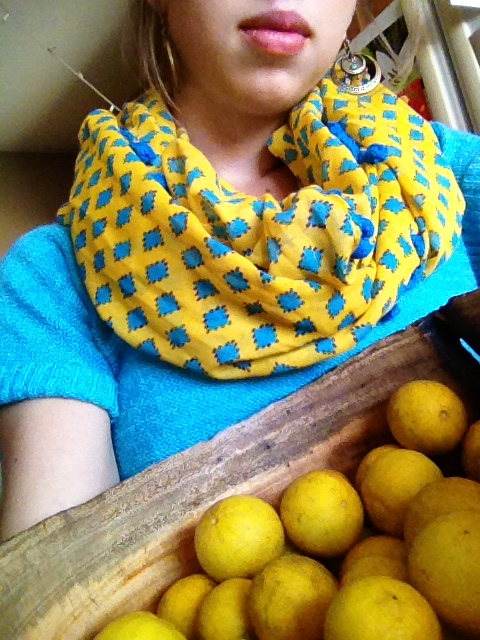
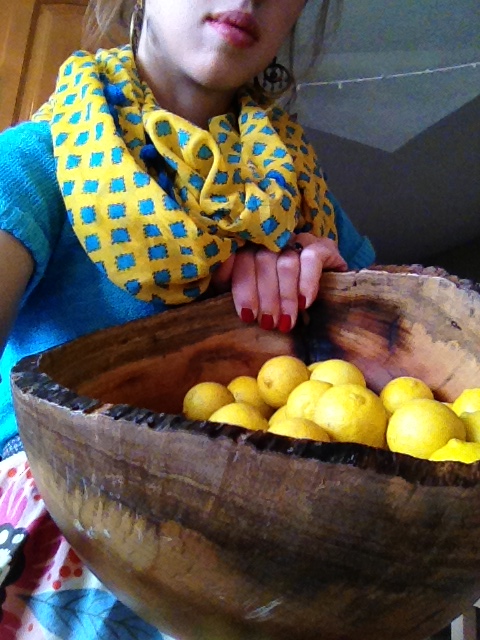
1. Realize that this big tree-carved bowl full of limes complements what you happen to be wearing. Take a series of artistic selfies entitled “Girl with Limes.”
Step Two: Juice roughly a thousand key limes (okay, probably forty) by hand with a press juicer. Be thankful you don’t currently have any paper cuts or hangnails, because the job would be a whole lot more painful if you did. This step will take you roughly forever (okay, probably half an hour.) If you have an electric juicer, by all means, please do that instead. It would be infinitely more logical.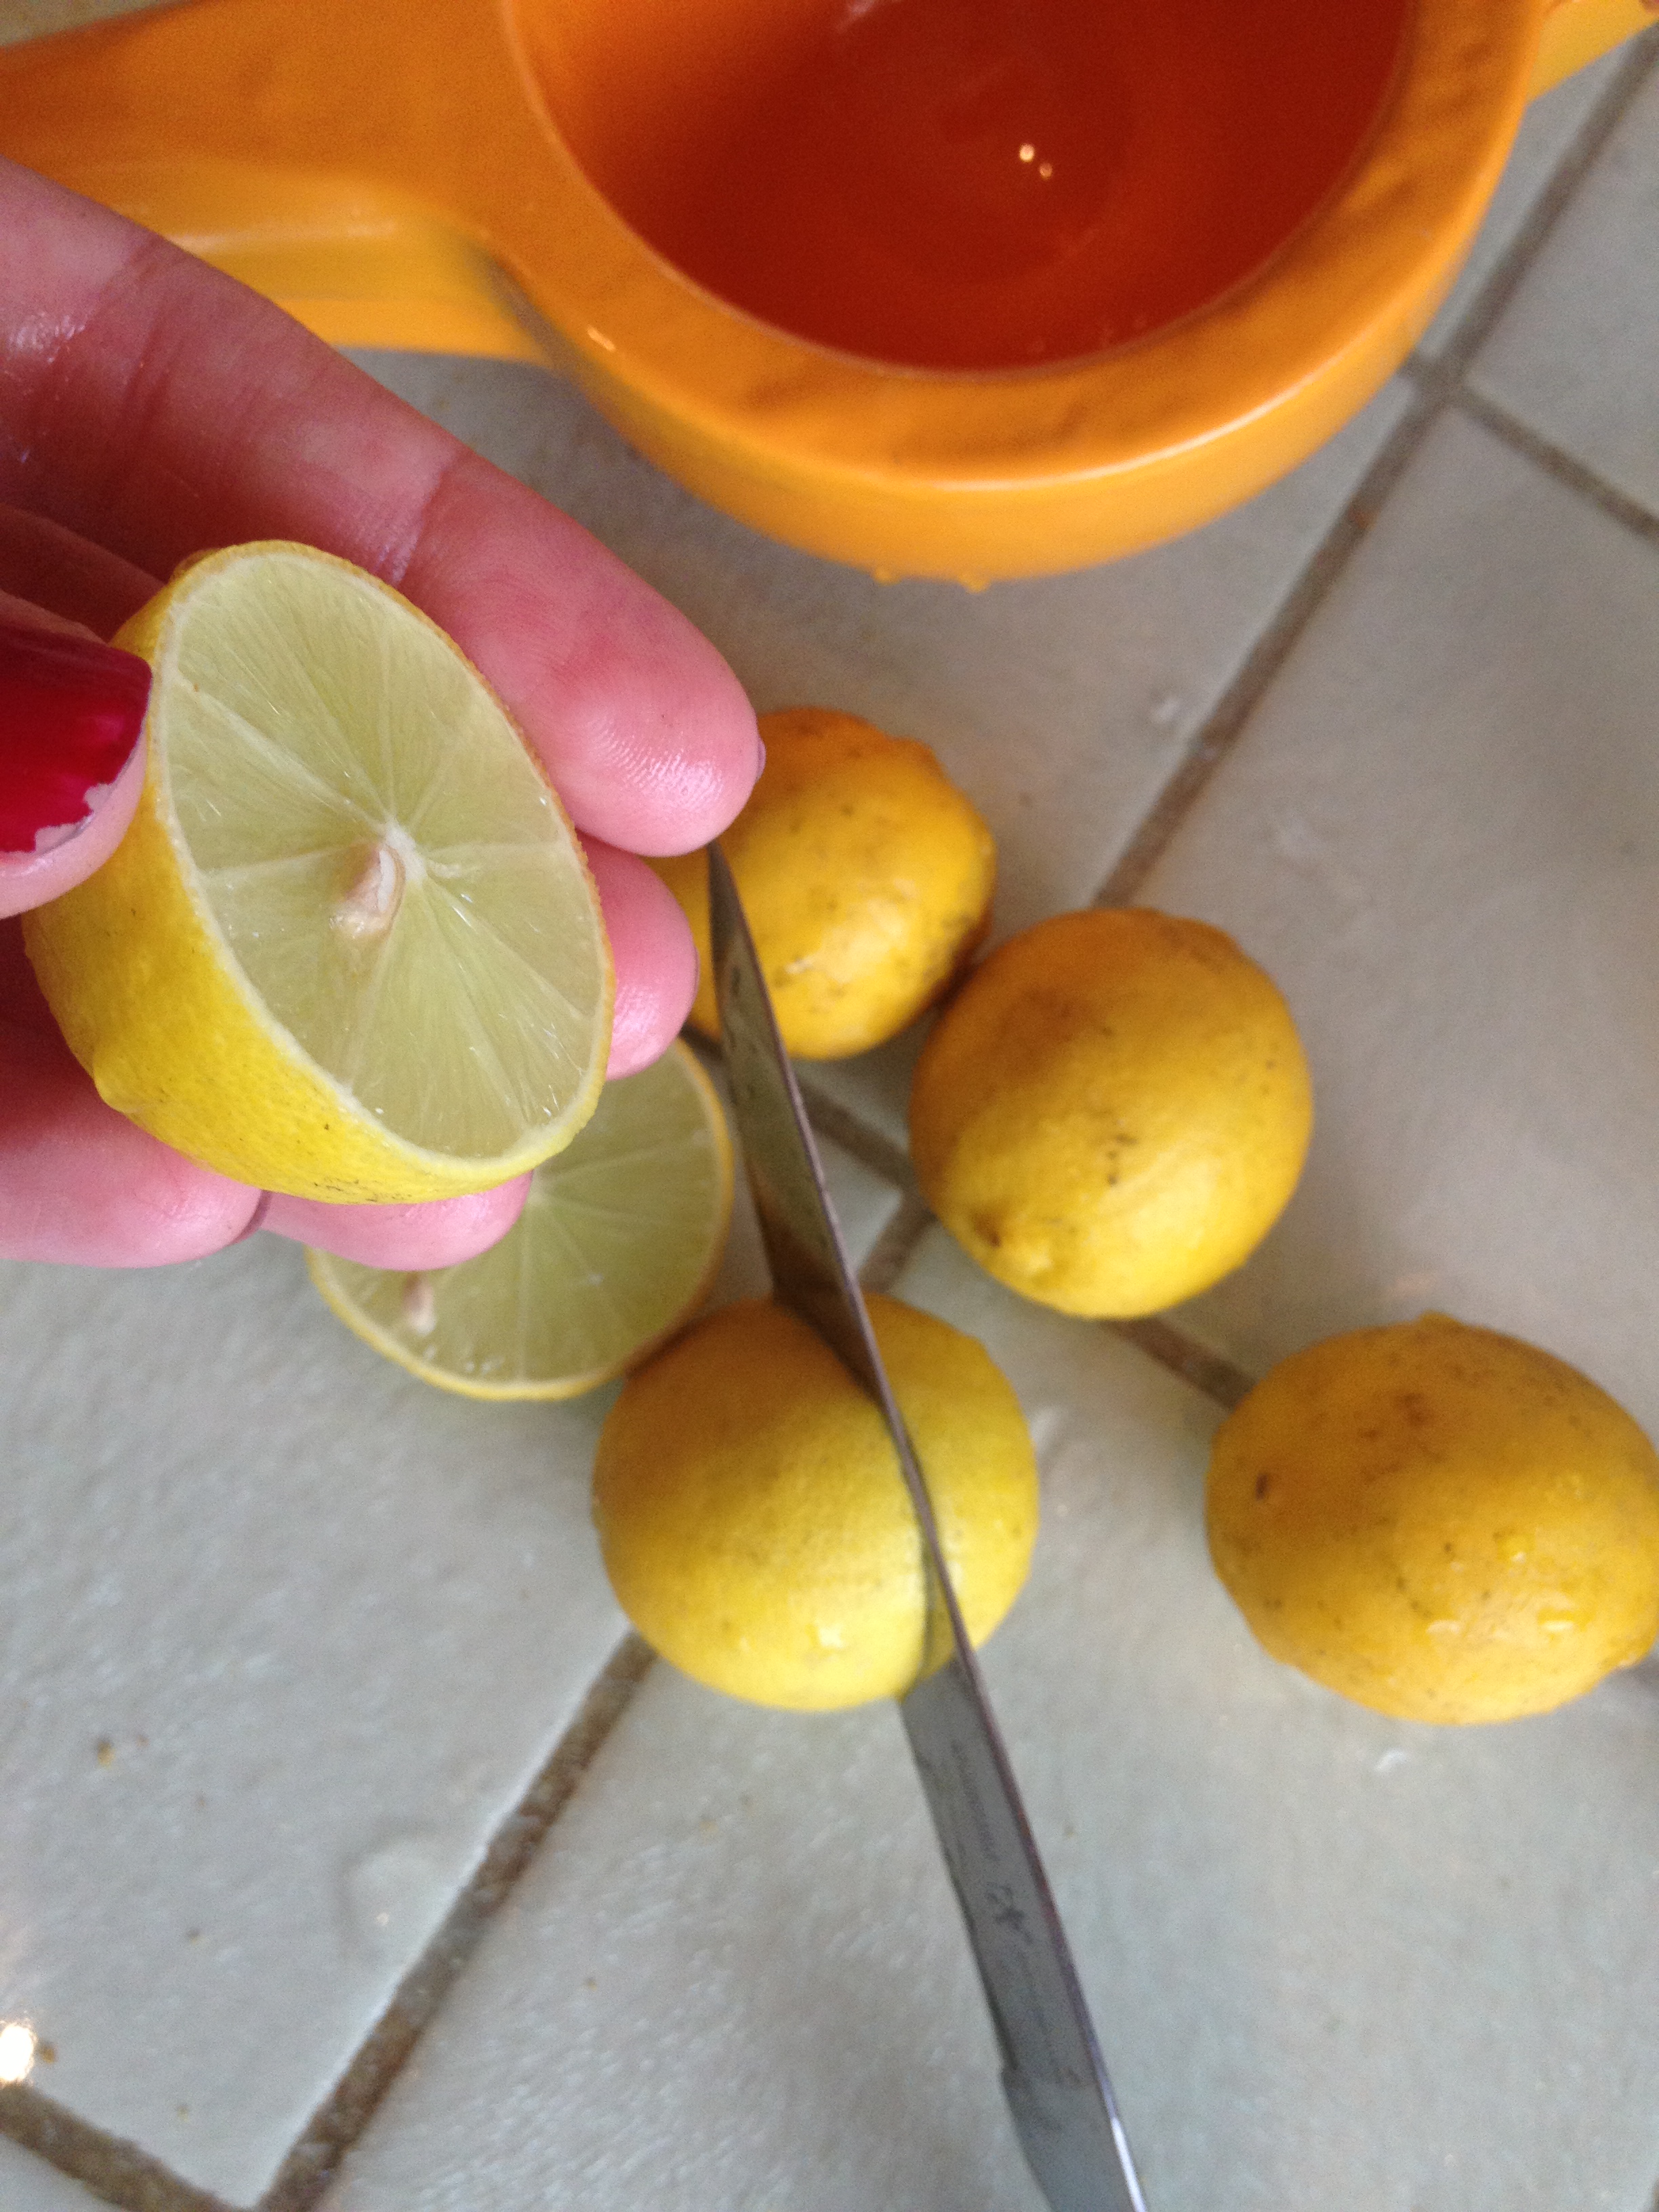
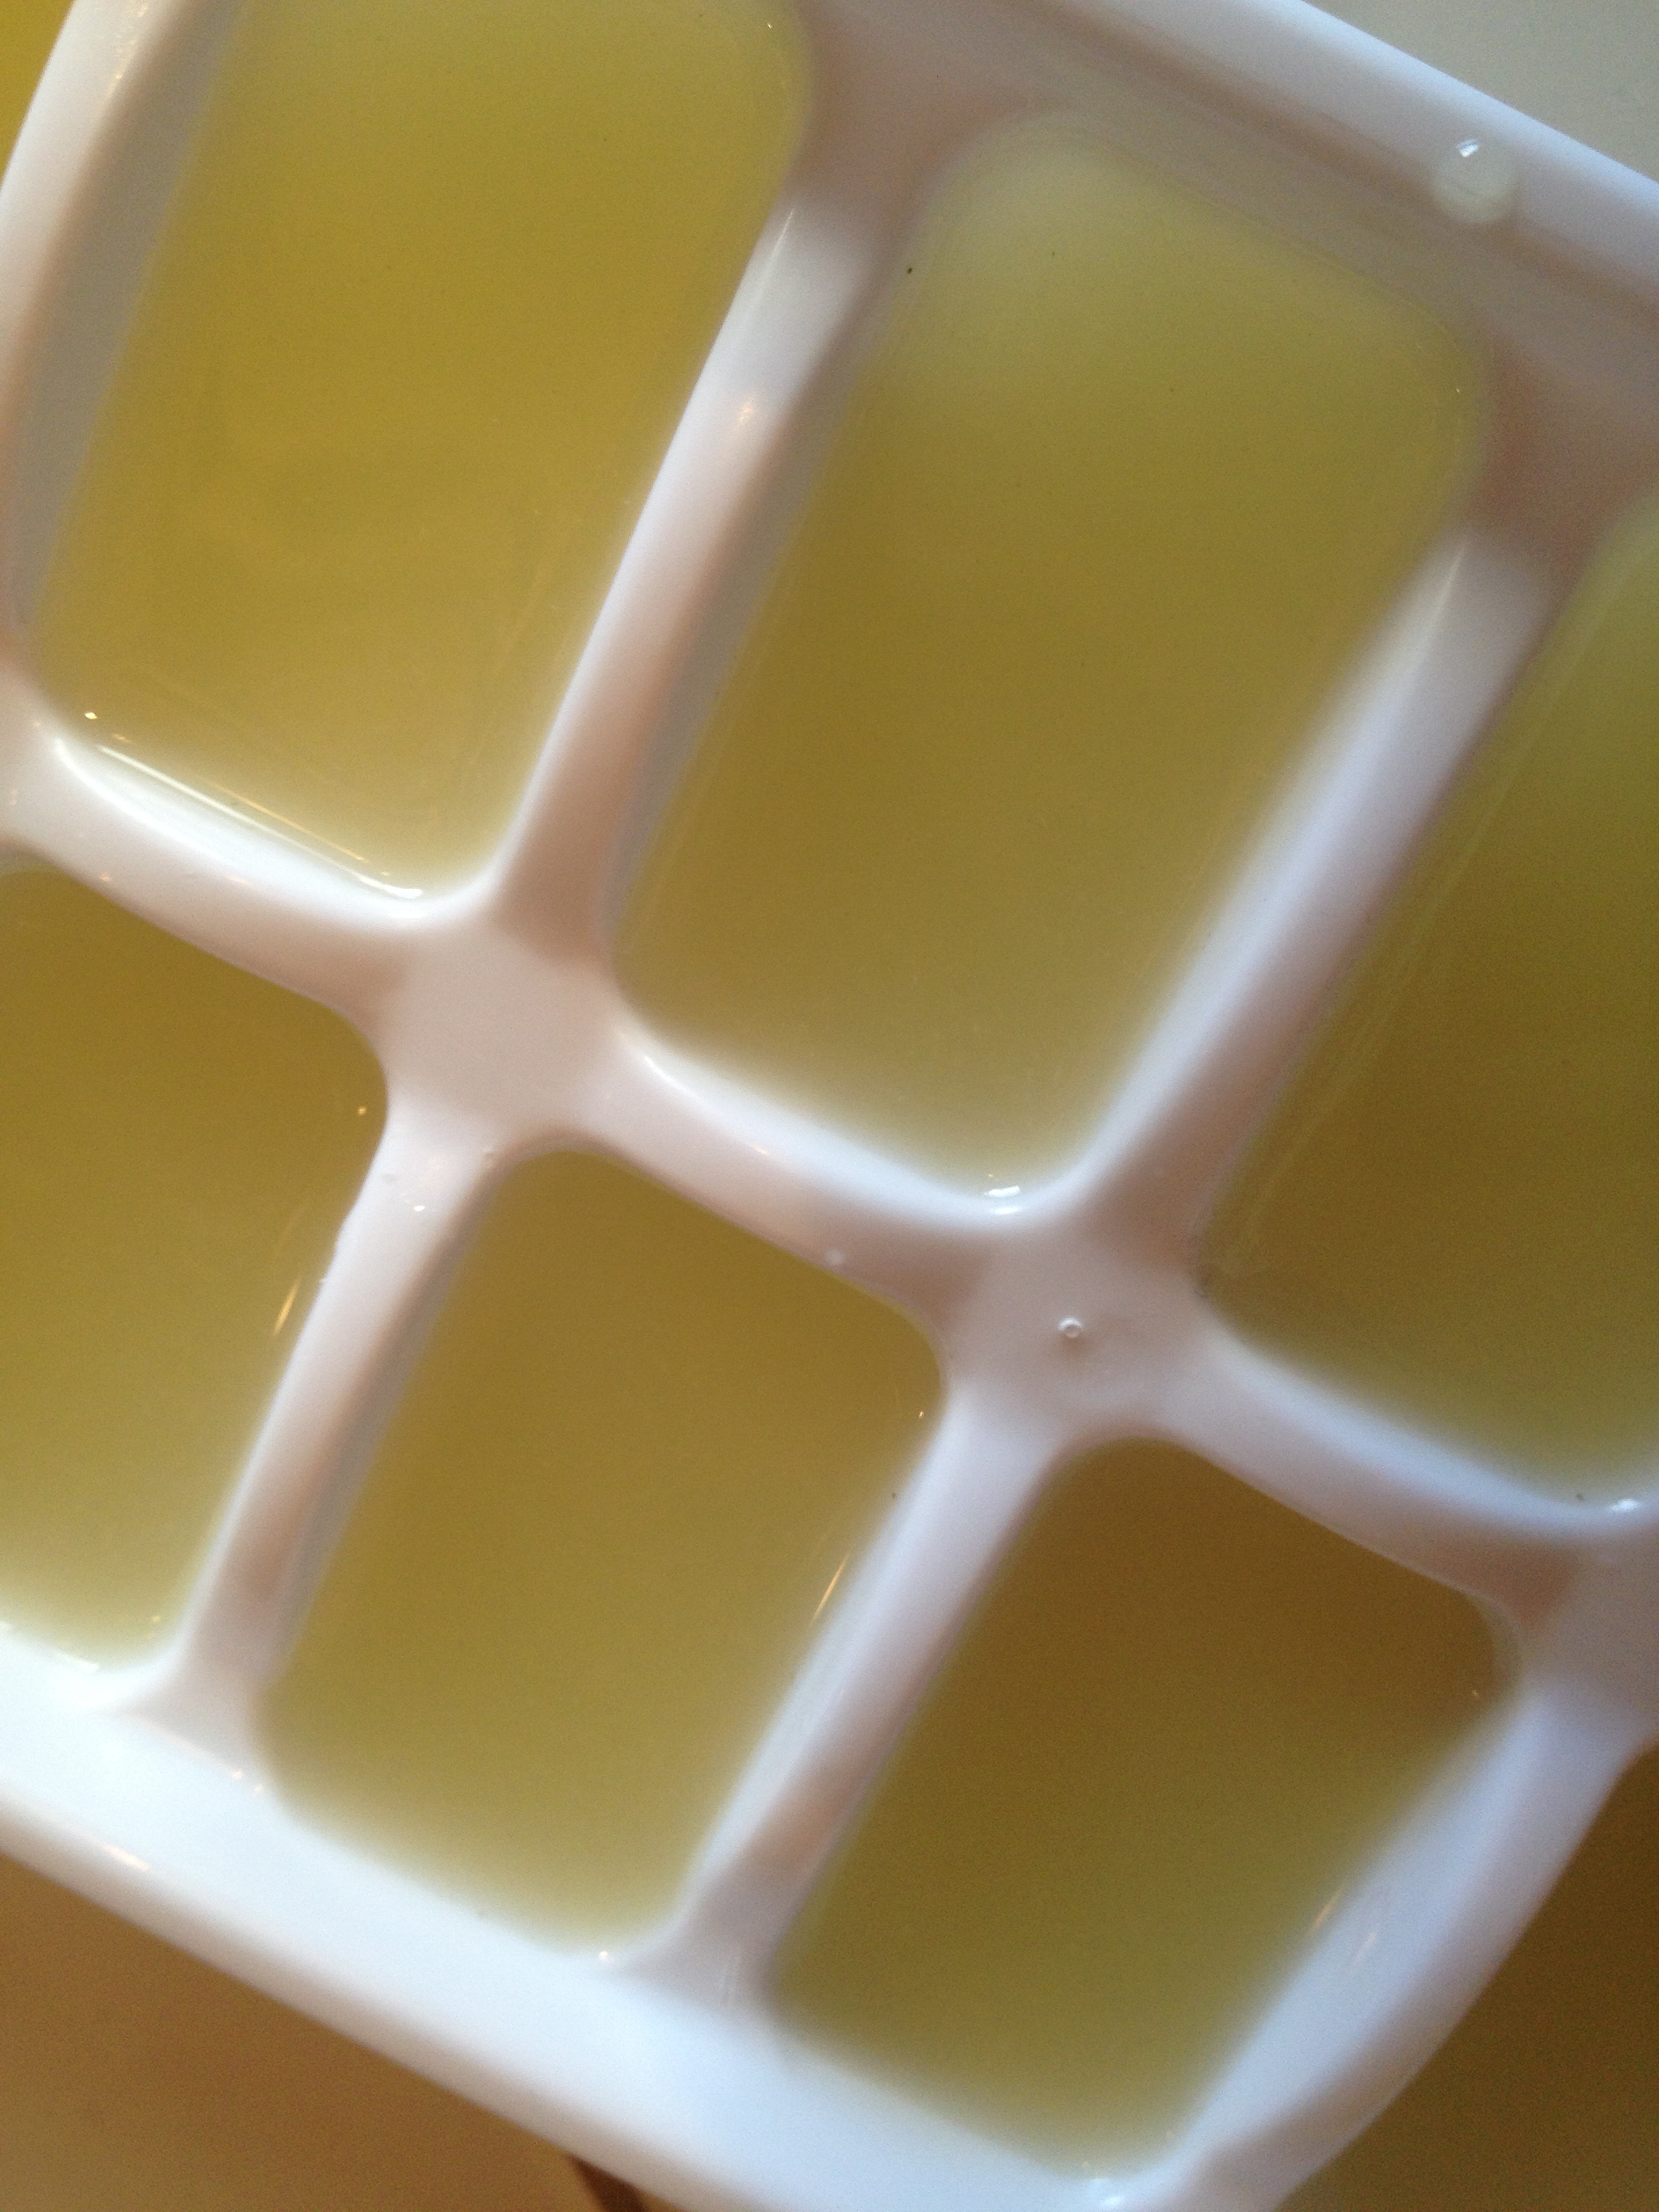
Step Three: Freeze the extra juice, which you will end up with if you are gifted this many ripe key limes at once. I only made one key lime pie on this particular day, but the beauty was that I was able to freeze enough juice cubes to make two more exquisitely fresh tasting key lime pies about a month later. I like freezing citrus juice in ice cube trays because the smaller units are easier to defrost.
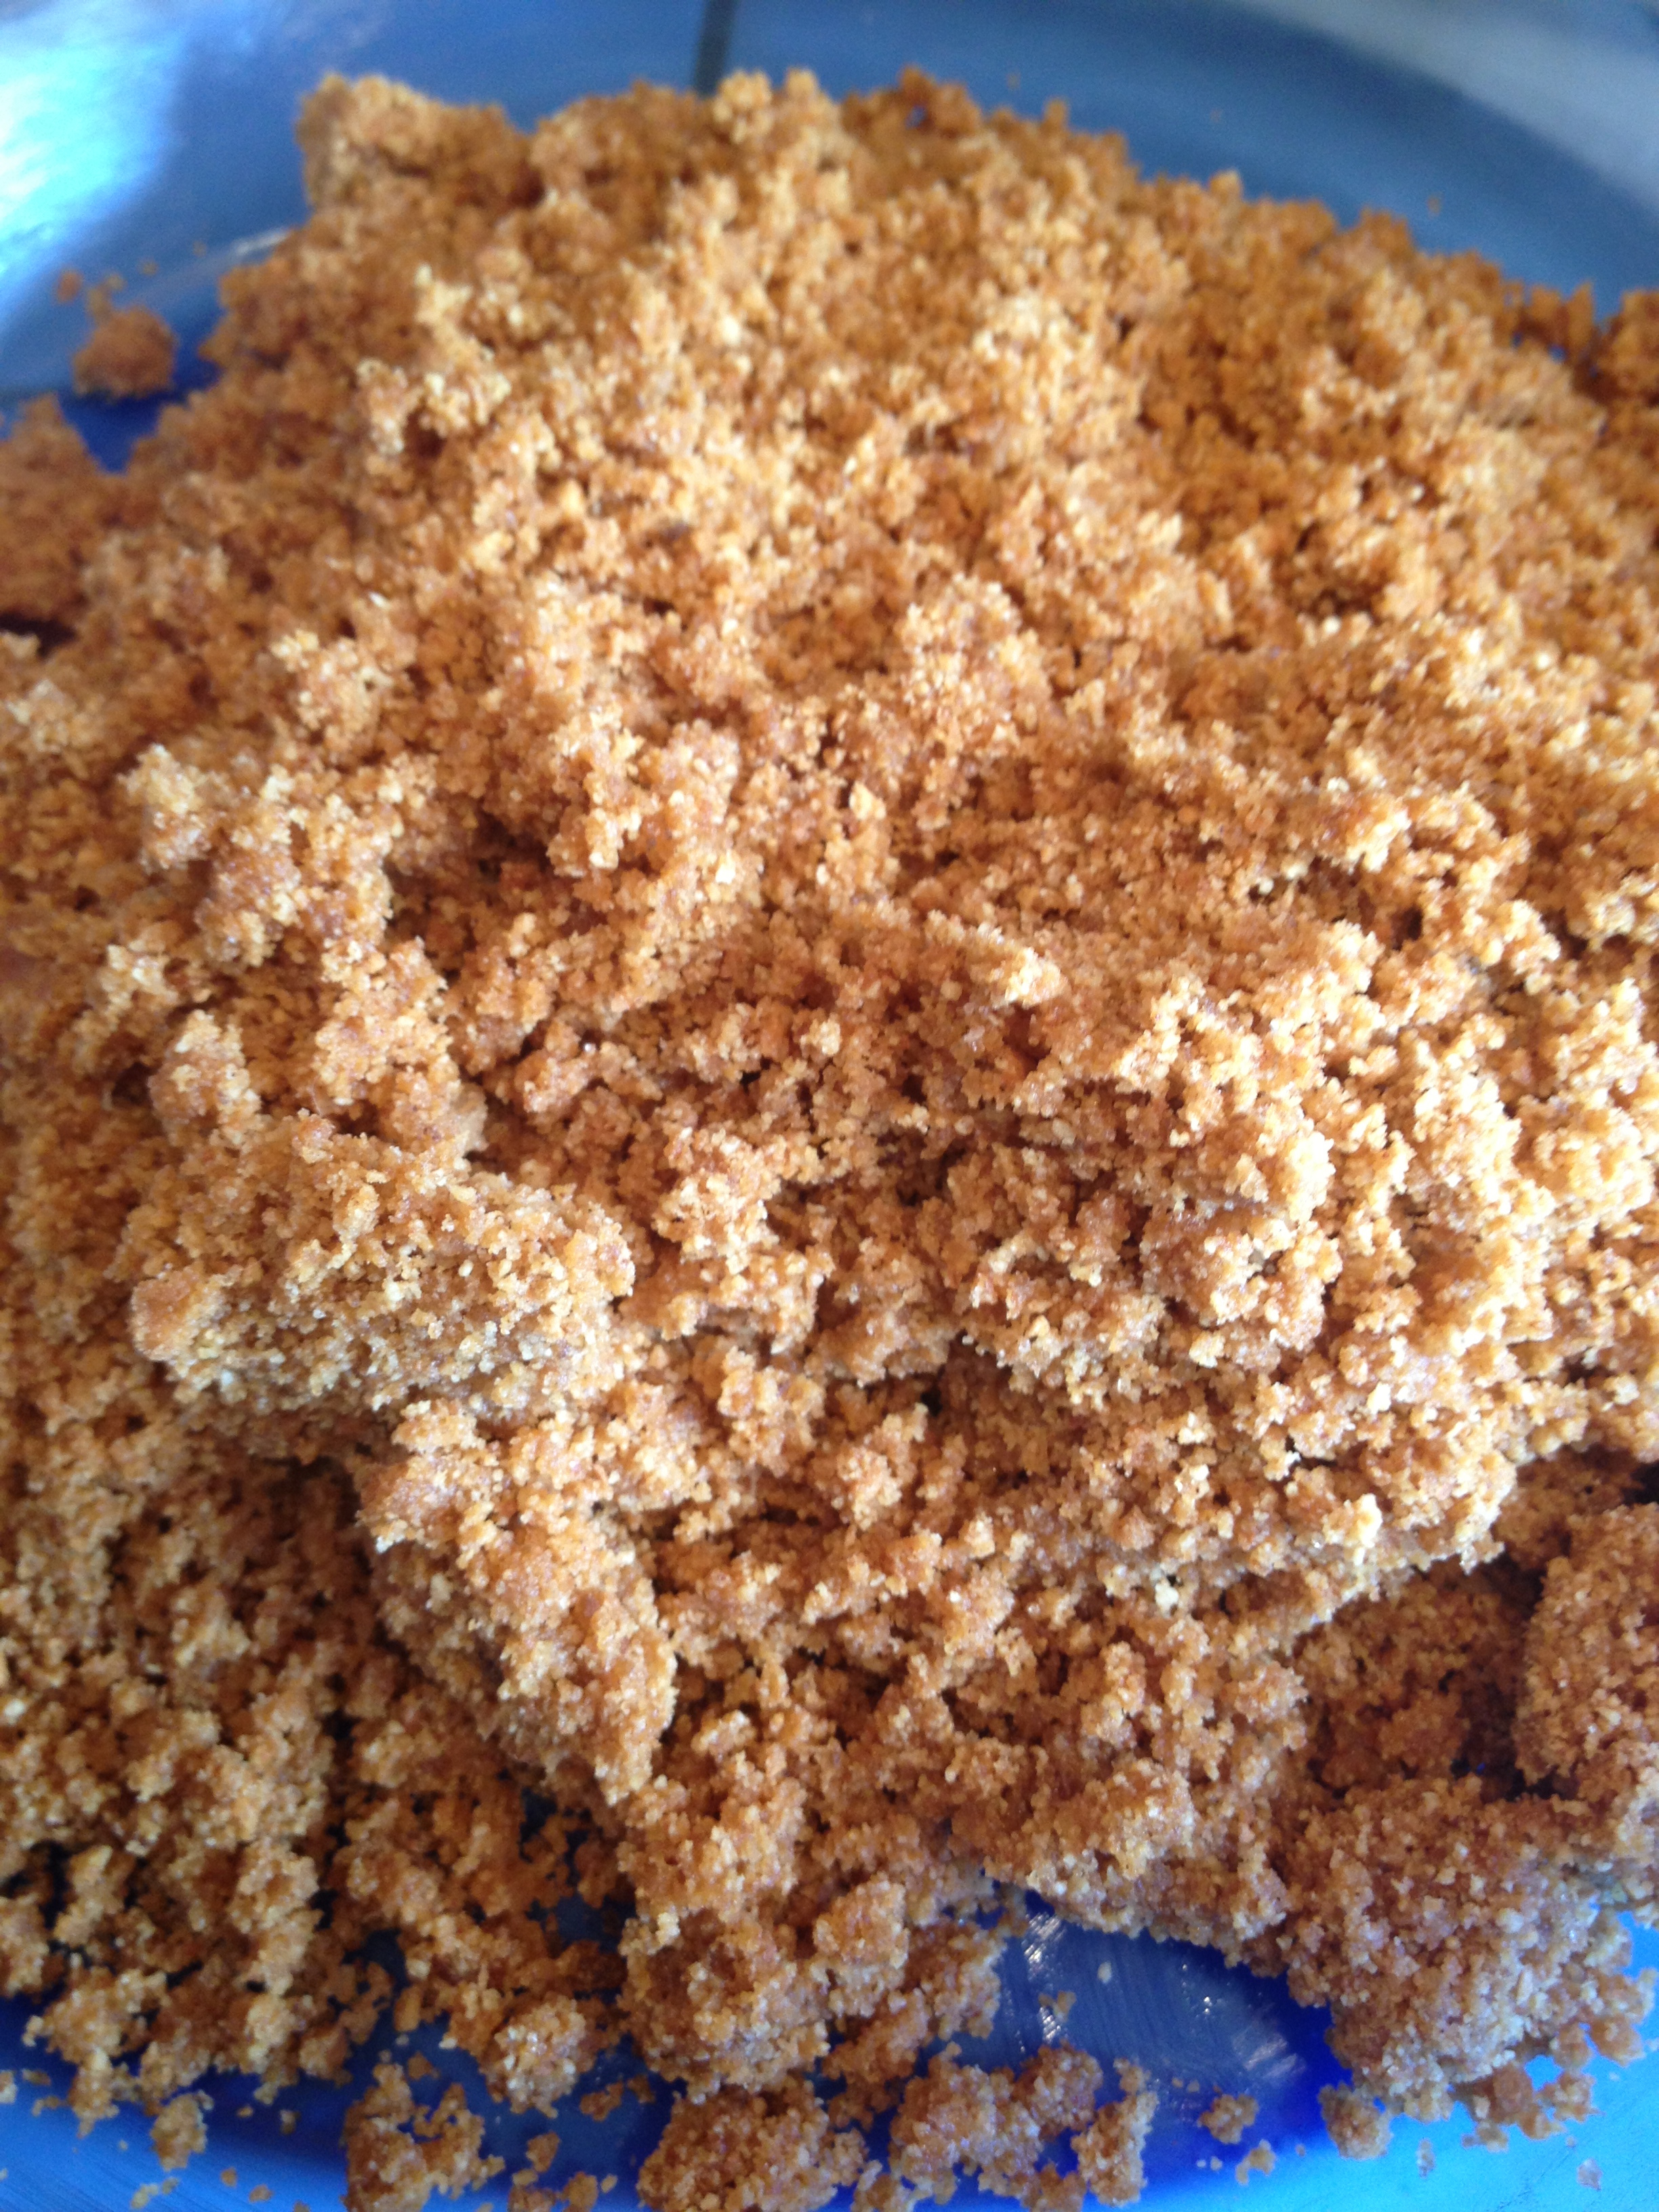
Step Four: Make a homemade graham cracker crust. I think I’ve said this before, but it bears repeating. Homemade graham cracker crust is delicious; store-bought graham cracker crust is an edible container which isn’t necessarily bad but definitely would never be described as delicious. I wanted this Joe’s Stone Crab Key Lime Pie to be absolutely delicious, since I had already spent a good amount of my life squeezing the key lime juice that was to go into it. So, it had to have a homemade crust. The graham cracker crust recipe in Ken’s book is a quick mix of graham cracker crumbs, brown sugar, salt, and cinnamon with melted butter to bind it together. Once you’ve made one homemade crumb crust, you’ll never go back. Some things in life are a lot more work for a little payoff (aka hand squeezing a bunch of key limes instead of using already-squeezed key lime juice) and some are a little more work for a huge payoff (aka making a graham cracker crust by hand instead of buying one.) I think I’ve made my point, so I’ll move on.
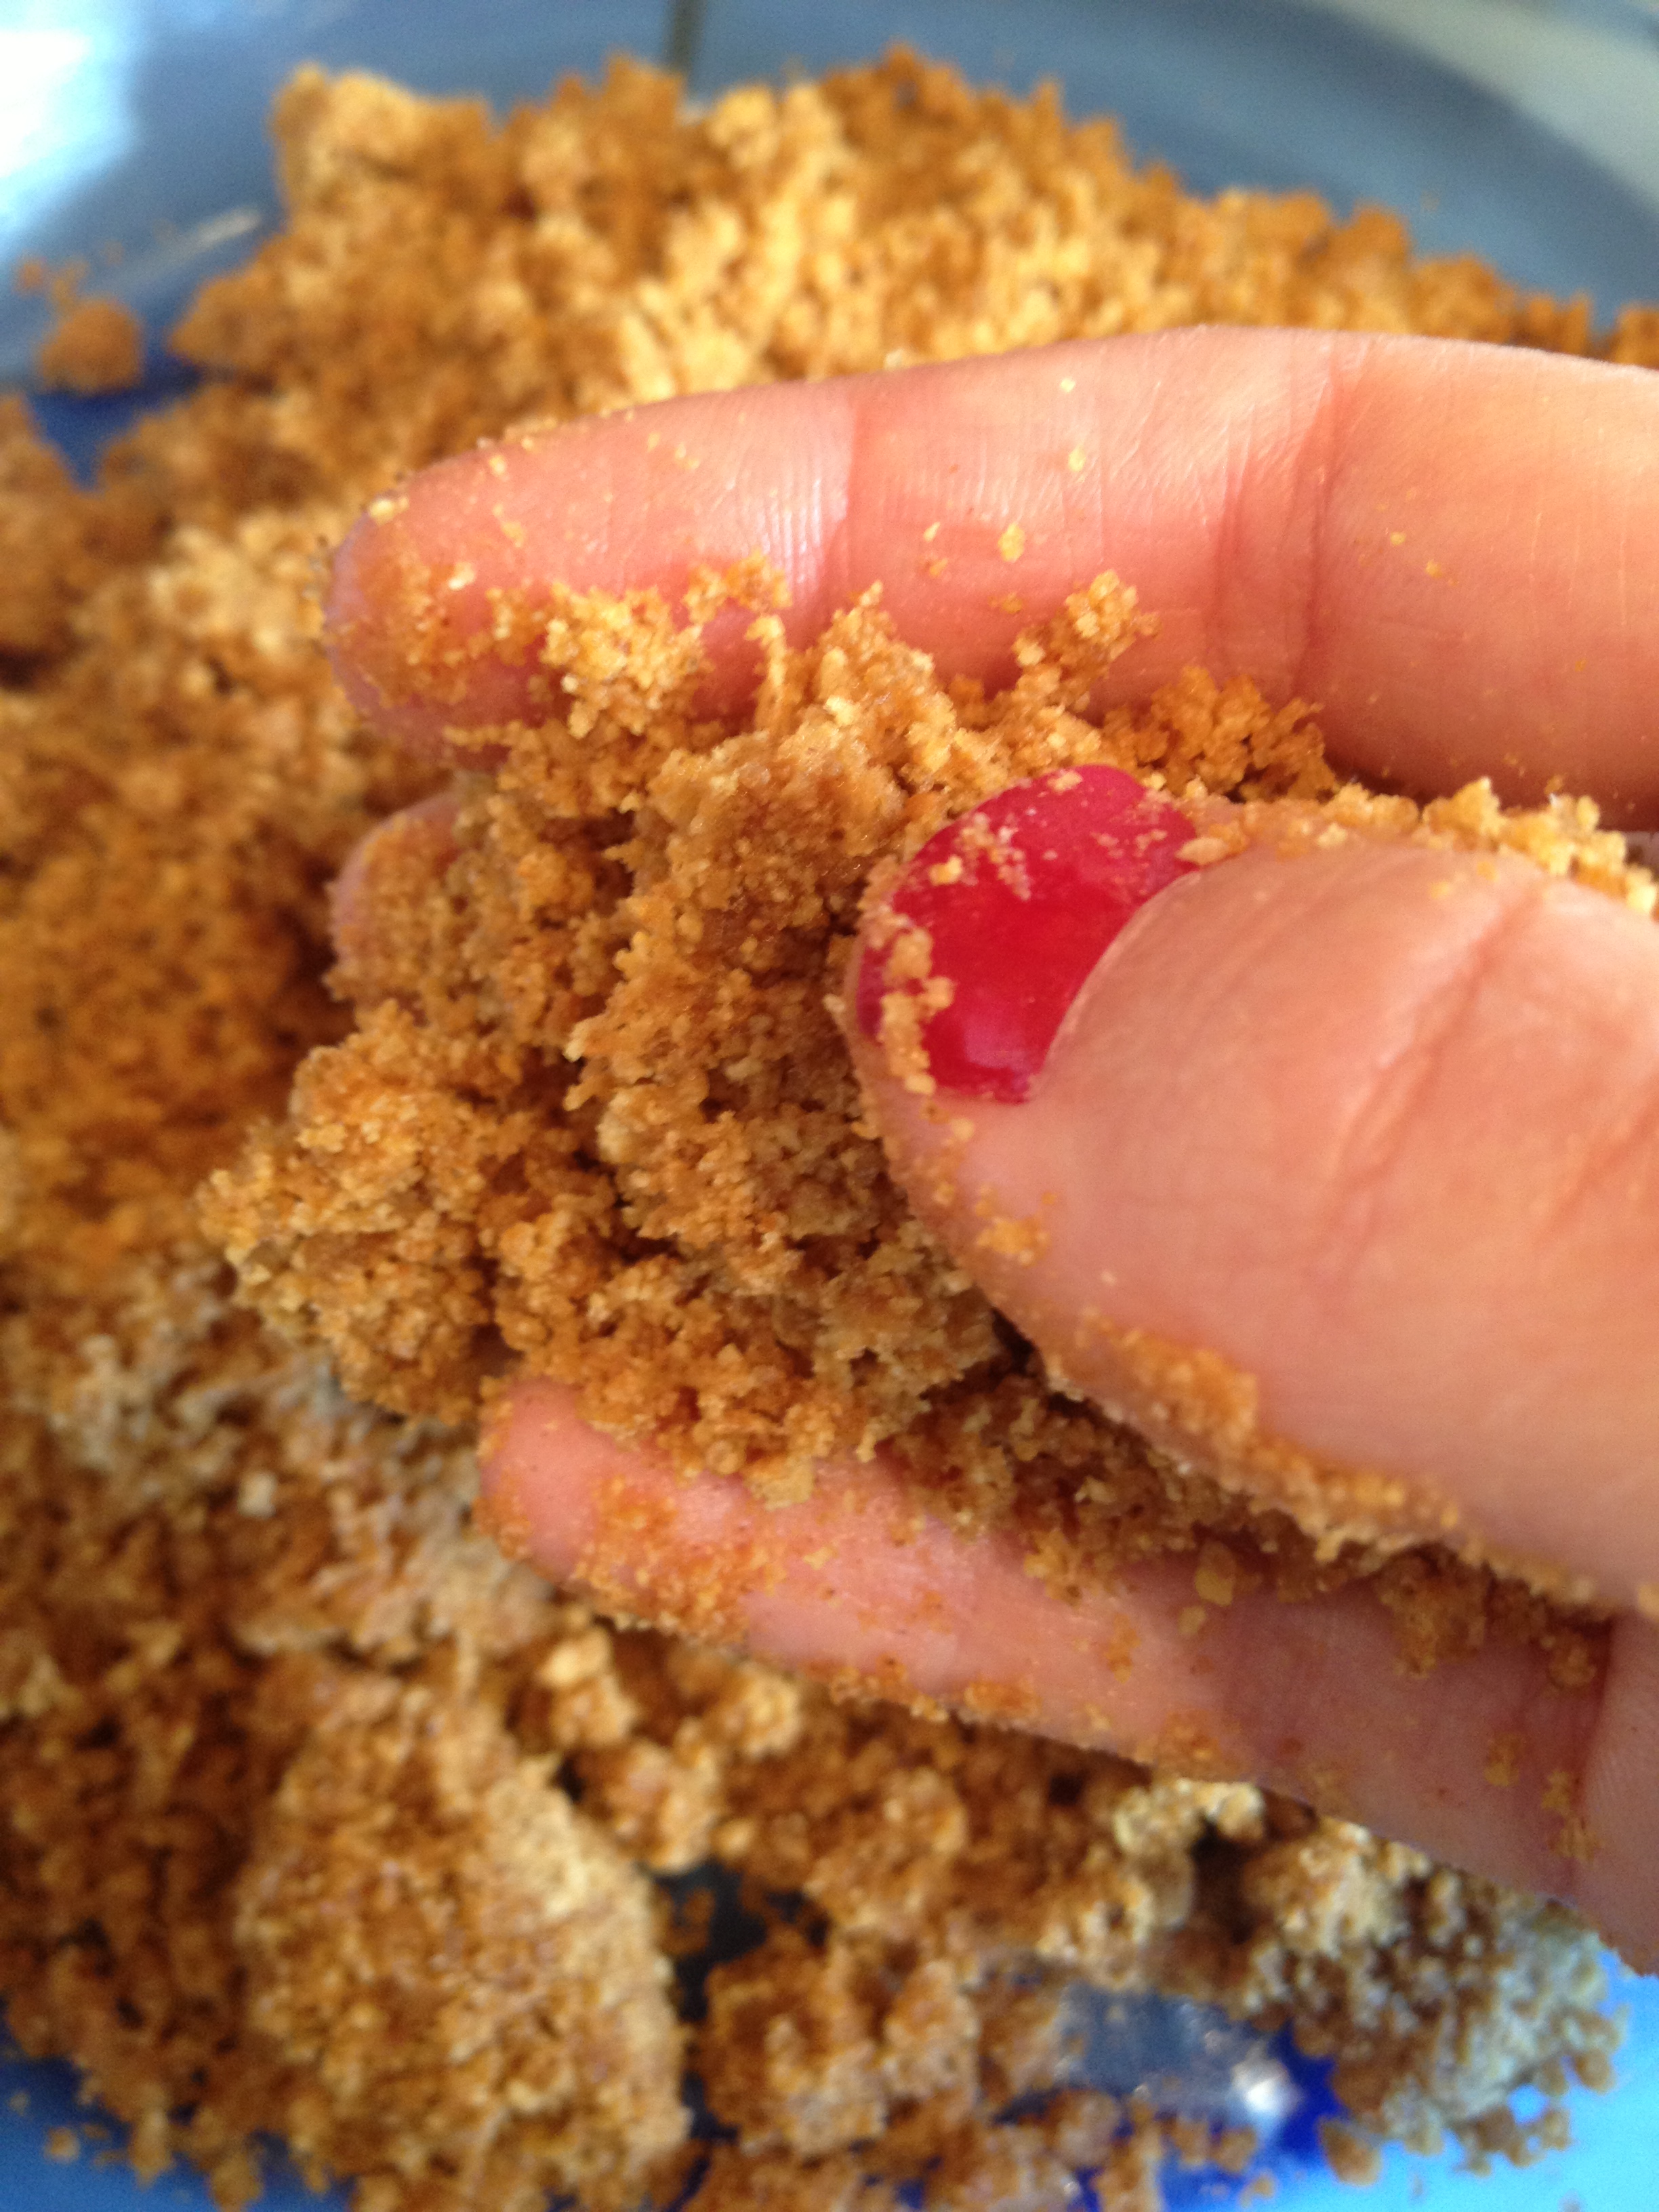
When making a graham cracker crust by hand, once you’ve got a bowlful of damp crumbs, you can just dump them into your pie plate and use your hand to pat it into shape. I usually try to make the crust go up the side of the plate just to the line I think the filling will go up to, though I often mess up and make the sides go nearly all the way to the very top of the plate. I mean, I don’t think it’s a super big deal either way. You just definitely want the crust to go at LEAST as high as the filling will. It definitely makes sense to err on the side of making the crust a bit too high. IMHO.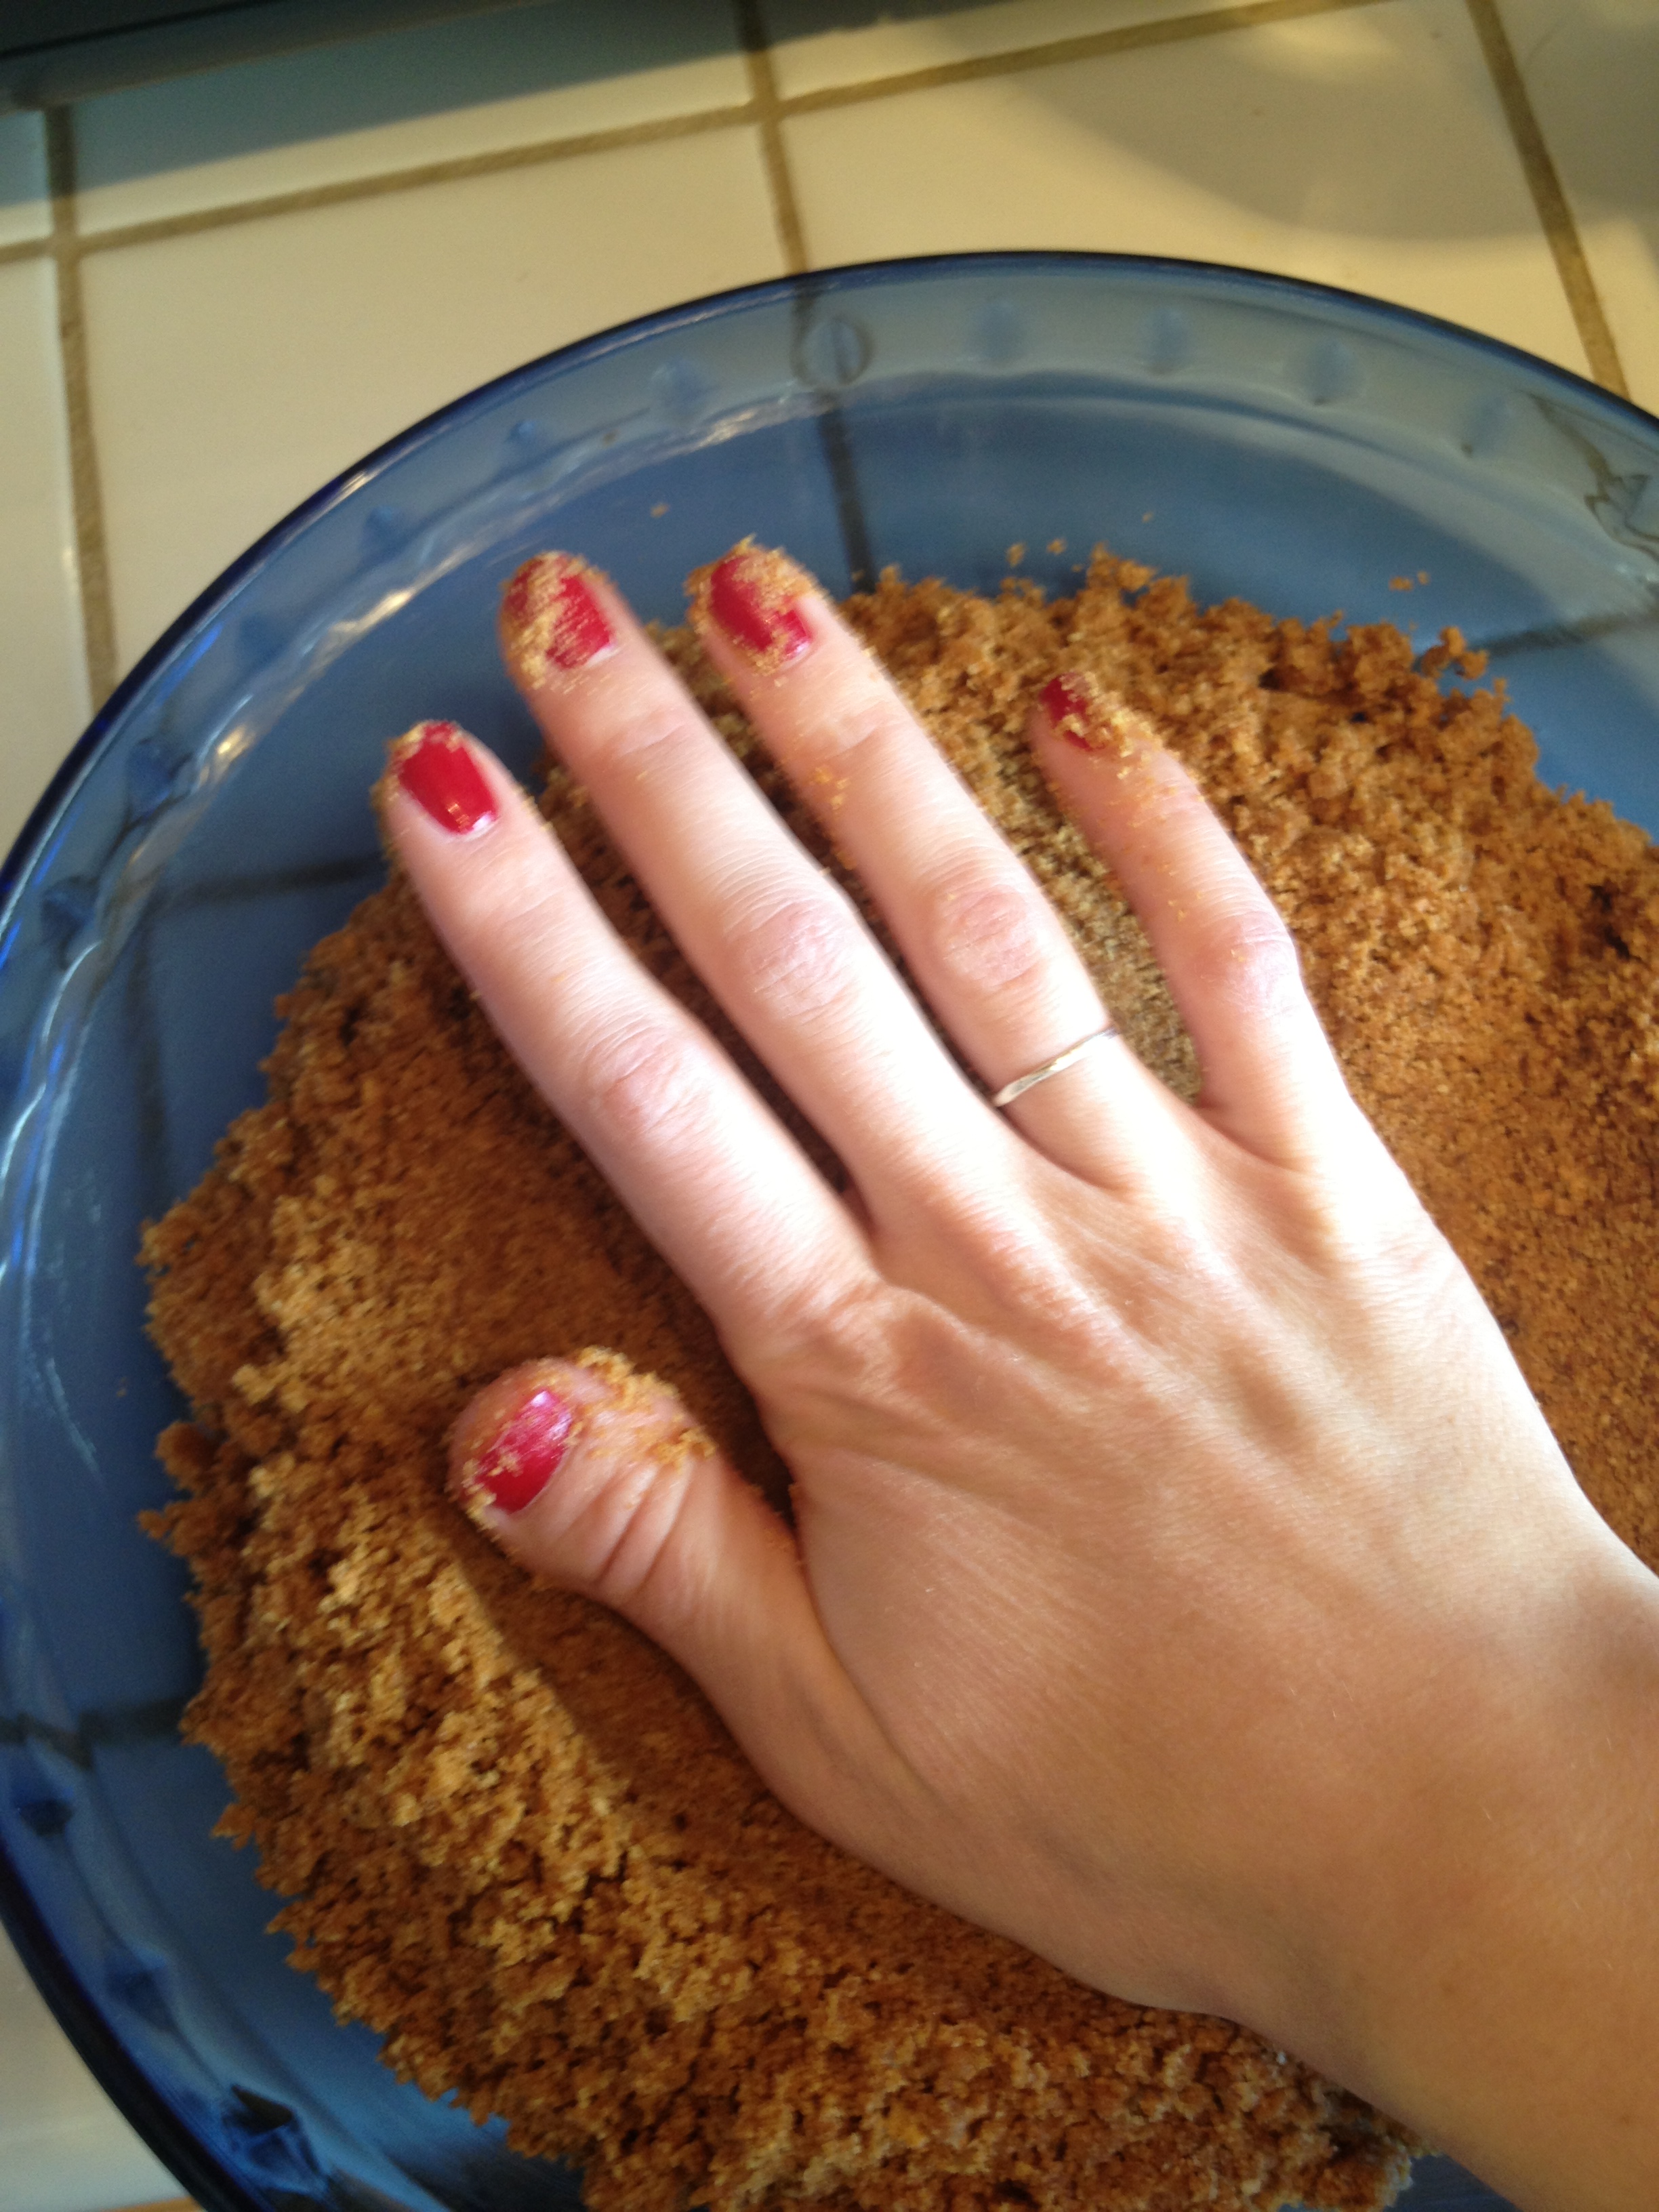
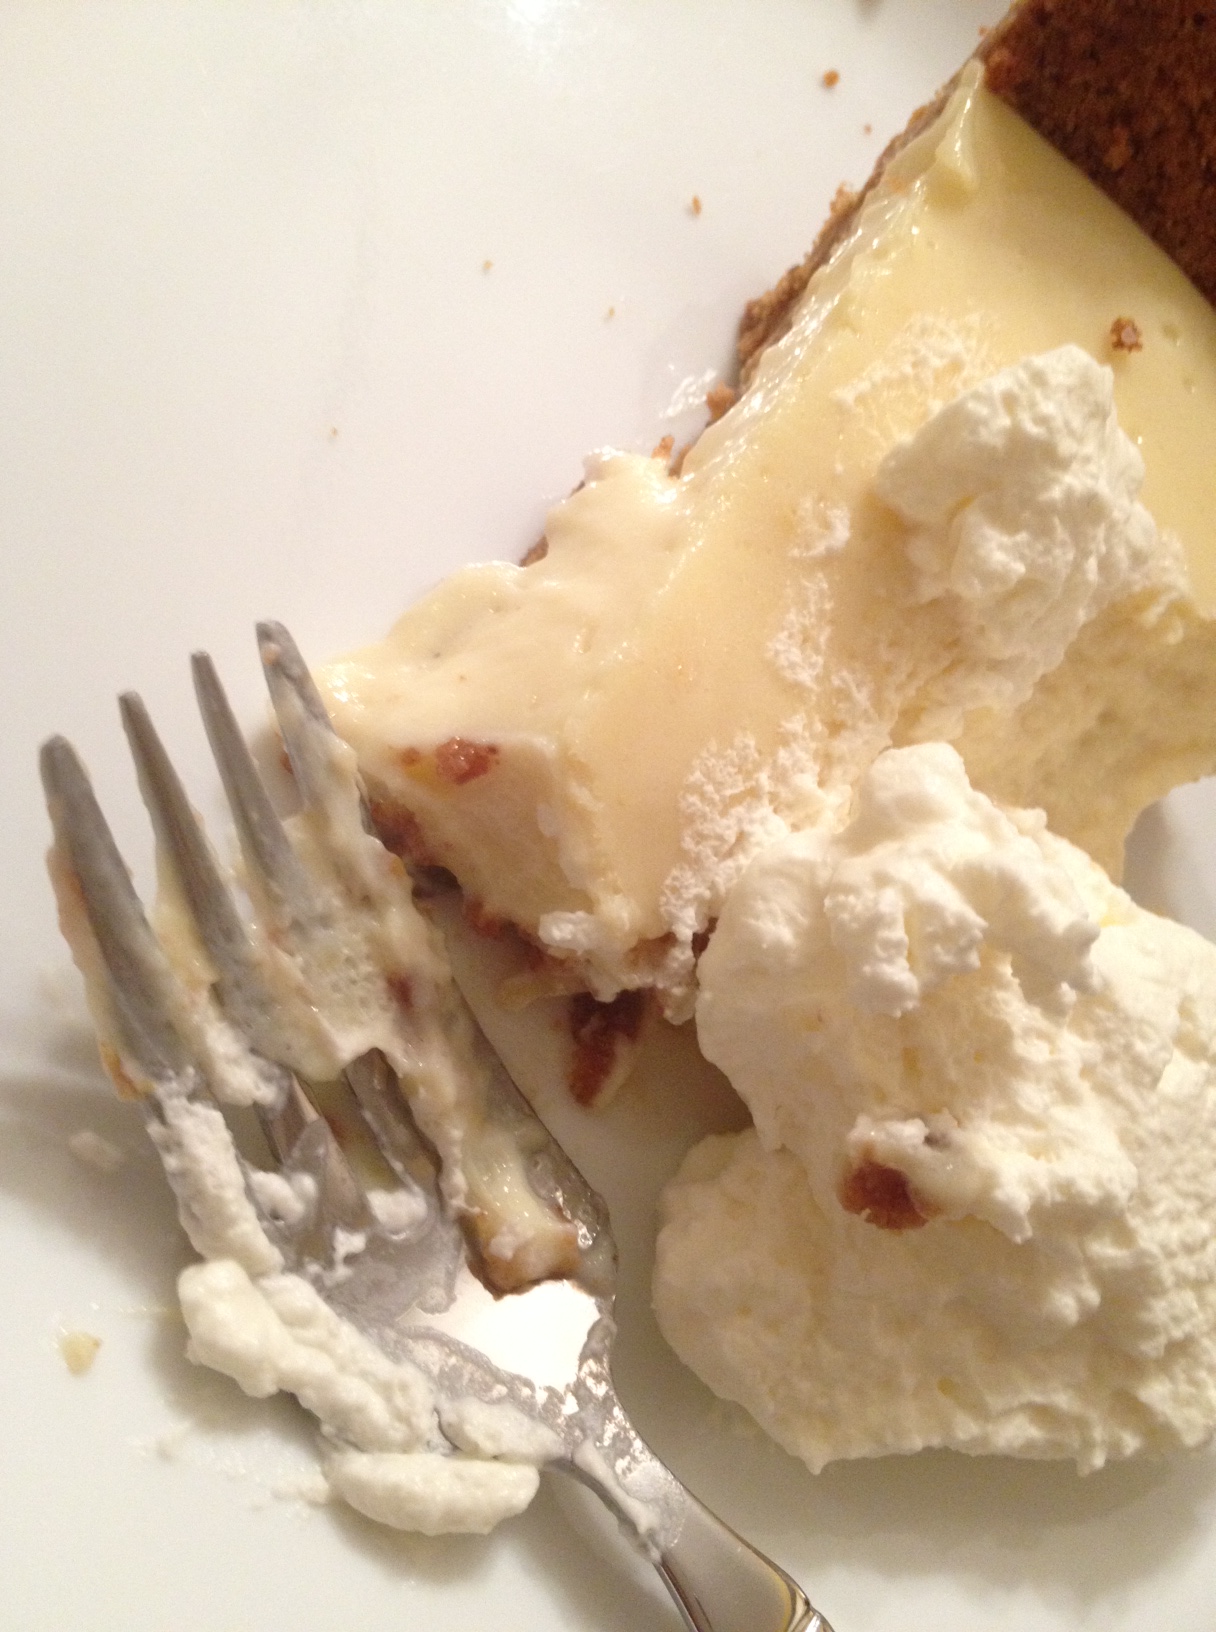
True to form, I left off taking step by step photos after forming the crust. So, Steps Five and Six, if I were to have included them, would have covered the blending together of the filling and the pouring of the filling into the gently hand-molded crust. We find ourselves now at Step Seven: Eat your delicious key lime pie. You’ll know it’s the real thing because it will have a serious tang to it. It will be creamy, even more so when freshly-whipped cream is dolloped on top. It will be so, so good.

Step Eight: Put your scarf on your head and smile for one more selfie, cause you’re DONE and you’re thinking about how much key lime juice still awaits you in your freezer.
 P.S. You guys caught me again. It’s not key lime season in California’s May. It’s key lime season in January. Shhh…don’t tell anyone how slow of a blogger I am, okay?

I adore you and your key lime scarf selfies.
this is uncle joe’s favorite pie! key limes are hard to come by in MN .
Oh my goodness. Key Lime is Grandpa’s FAVORITE pie…….hate to see an old man drool…..well, I love key lime too.
Thanks for the graham cracker pie crust idea, I didn’t know about the cinnamon, sounds good and I will use it in my graham cracker pie crust the next time. I have also used corn flakes for a pie crust. My dad especially likes that pie crust with lemon meringue pie.
Pingback: Orange You Glad | The Peace of Pie